
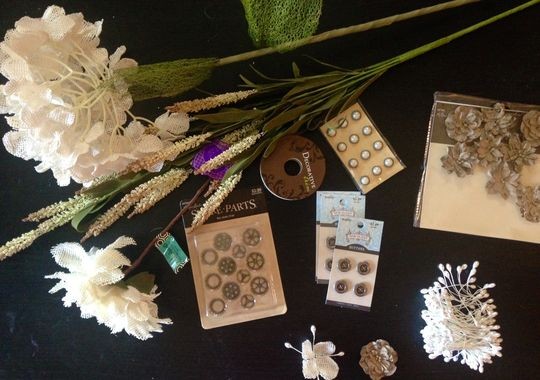
Gather all of the accessories you think you'll need. Local craft stores have great options!(Photo: Dina Kupfer)
Editors Note: We absolutely love DIY projects, so of course we couldn't resist sharing this one for handcrafted boutonnieres (the flowers that are typically worn in the button hole of the grooms jacket) which we found here. Enjoy!
--
Step 1:
Get inspired! Look at photos online of other handcrafted boutonnieres, and draw your own inspiration.
Step 2:
Go shopping Go to any craft store and pick up the necessary items to begin crafting. I am using a hot glue gun to assemble the items, so for my creations, glue sticks were a must. From the scrap-booking section, I picked up small paper flowers and small car part accessories (really speaking to the dudes here), I also grabbed s spool of lace, burlap and some fake flowers with a strong stem from the floral section.
Step 3:
Begin assembling your creation Before gluing the pieces together, I laid everything out to make sure I liked the design. Feel free to rearrange and change your mind a ton (I did). Once I nailed it down, I began the gluing process.
Step 4:
Start gluing I started with wrapping the base of my boutonniere (floral stem) in burlap. Hot glue the burlap onto one end, then continue wrapping it all the way down, adding a little glue for reinforcement along the way. Once you get to the bottom of the stem, add some more glue -- don't cut yet! Leave about 4 inches of burlap at the end (this will eventually be used to wrap back up the stem). I threaded a car part accessory onto the burlap, then continued wrapping the stem. Hot glue to keep in place.
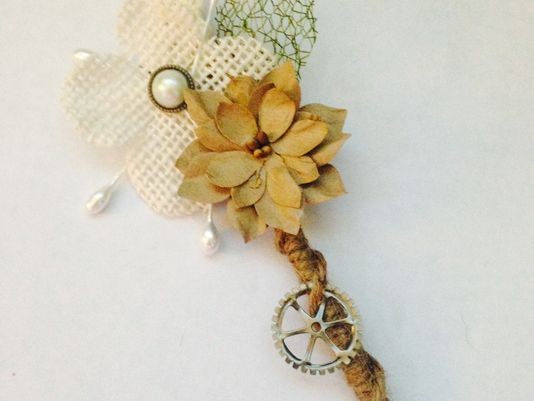
At the other end, I began gluing my flowers and lace. I added a soft touch with a strip of lace at the top and a pearl button in the center of one of the flowers. You can really add anything you want here, don't be afraid to get creative! Once all is glued, voila! You've got yourself a rustic, handcrafted boutonniere! Just don't forget the pins to attach them to the groomsmen :)
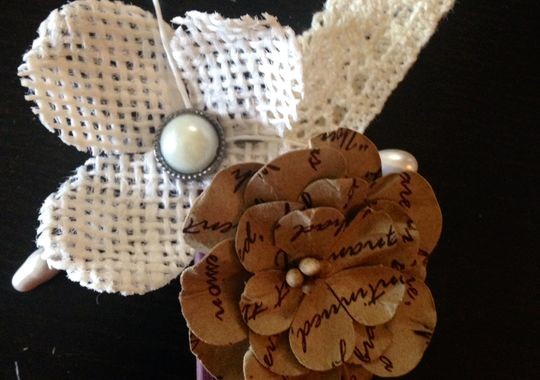
Put the pieces together without glue first to make sure you like the design.
(Photo: Dina Kupfer)
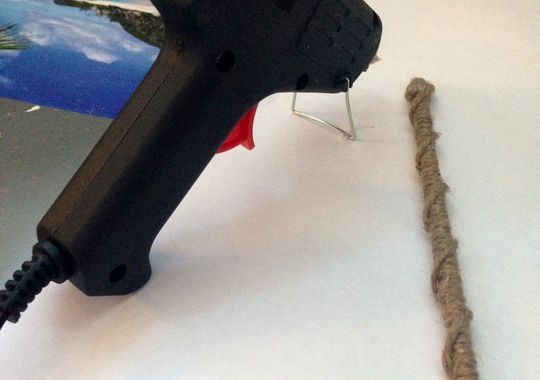
Once you've assembled your creation, start gluing!
(Photo: Dina Kupfer)
(Photo: Dina Kupfer)